The ultimate guide to WordPress 404 pages
Written by on December 16, 2020
Visitors may come across 404 pages on your website when the content they are requesting doesn’t exist. This is the ultimate guide to WordPress 404 pages including what they are and how to customise them.

What is a 404 error?
The computers (called servers) which serve websites to visitors sometimes run into problems. When they do, they return an error code to the browser for the user to see.
The 404 error belongs to a group of error codes called “400 errors” which are errors indicating a problem with the request. Sometimes that request is a page, a video or even an image. If the server returns any error in the 400s, this means there was a problem with retrieving the request.
How and why 404 page not found errors occur
When the server cannot find the page, image or other resource the user requested, the server returns a 404 error code. The 404 error code is simply a shortened version of saying “Not found”.
Often the problem is routed in a user miss spelling the address, or perhaps the resource has been removed from the server.
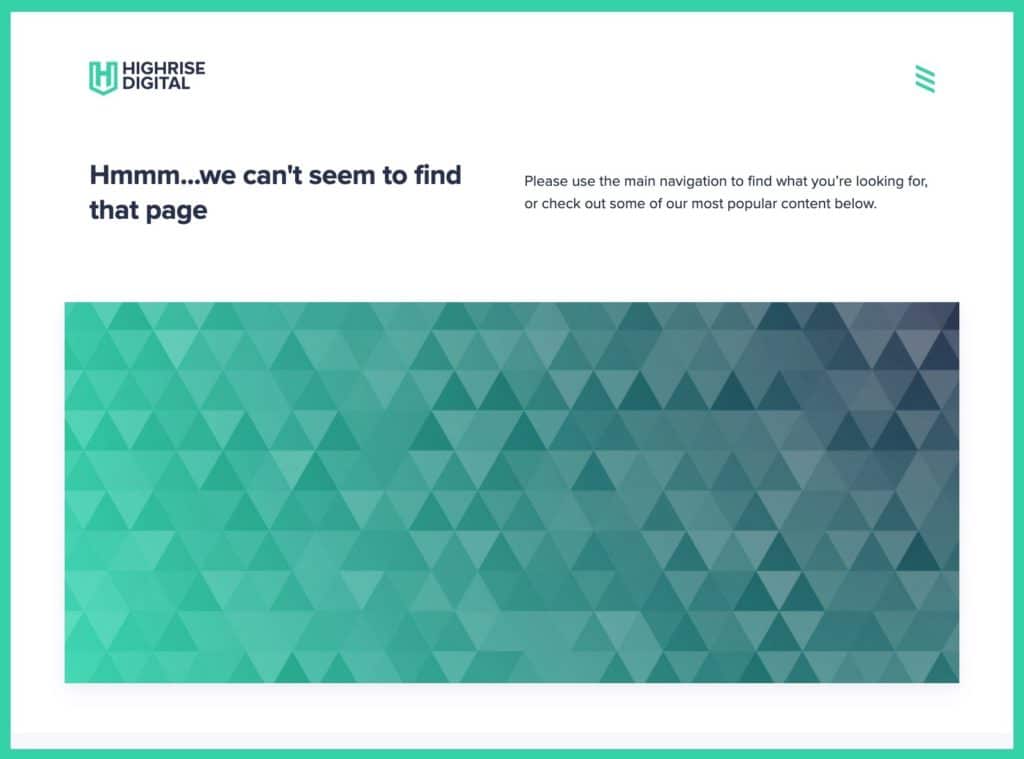
How to view your WordPress 404 error page
You can view your website’s 404 error page by simply entering a no existent URL in your browser’s address bar after the domain name. Entering a random string of characters after the initial domain name should work fine.
For example, click this link will show you the 404 error page on Google’s website:

You can tell that the page is a 404 error usually because of the contents of the page indicating so. However the server will also return a 404 error code to your browser. This code can be seen if you inspect the page using the developer tools.
In the network tab you will see the first request returns a 404 error, indicating the page could not be found on the server.
How does WordPress handle a 404 error?
If you are running a WordPress site, WordPress handles detecting for a 404 request and then serves the 404 template to your users.
When can 404 pages occur?
When a user enters a URL in the browser’s address bar, WordPress takes the string of text after the domain and then runs this through a series of tests (called regular expressions) to try and work out what data it should retrieve from the database.
WordPress has a series of rules, called rewrite rules that it tries to find a match for, based on the current URL being requested.
If WordPress cannot match against one of its rules, the request is marked as a 404 error as the resource cannot be found. WordPress then loads the 404.php file from the sites active theme and sends this, along with the 404 error code to the browser.
WordPress 404 after page migration
If you have migrated a page from one URL to another, for example changing the page slug after the post was published, the original URL of the post will result in a 404 error.
As the content is still available but has been permanently moved, you should redirect traffic from the old URL to the new one.
WordPress 404 after site migration
If you have migrated your site from one server to another, often, after this process your sites pages can result in 404 errors being displayed to users.
Often the reason for this is that WordPress does not have a set of rewrite rules from which to use the find the location of the current request. Remember, WordPress tries to match the request (the URL the user is requesting) to a set of rewrite rules.
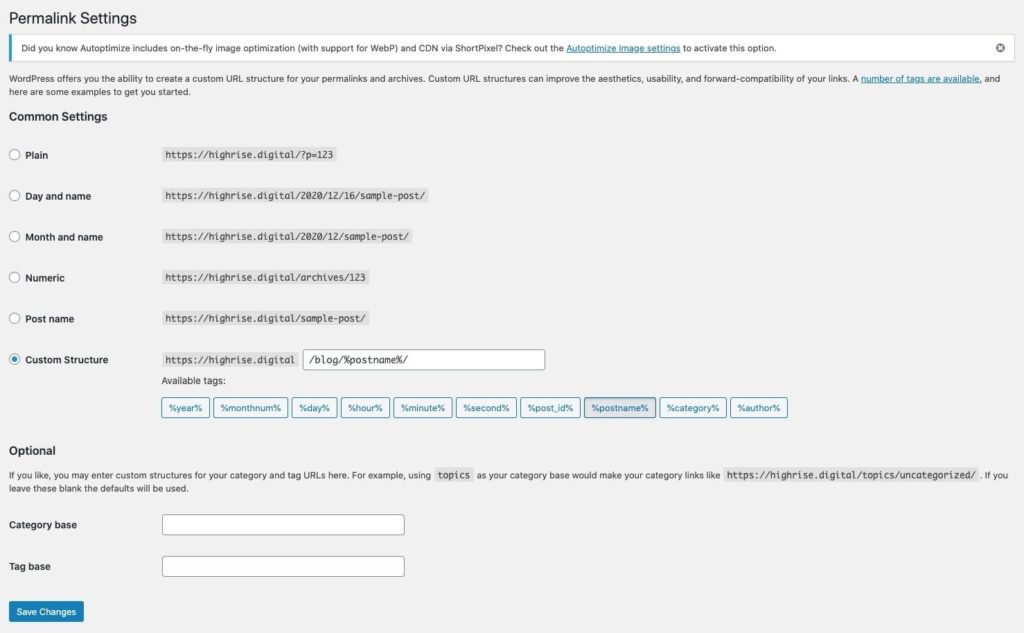
The way to fix this problem is to regenerate the WordPress rewrite rules. Usually this is done by visiting the permalink settings page in WordPress which can be found in the admin area under Settings > Permalinks. Click save should regenerate the rules and remove the 404 page errors.
The 404.php theme template
Once WordPress has matched that the current request is a 404 error, it then serves the browser the 404.php template from your active theme.
Most themes should have a 404.php template included. Below you can see the current Twenty Twenty One theme template.
All themes will add different things to the 404.php template, but all should indicate in the page title that the request is a “404 error not found”.
It is worth noting that the 404 template is not an editable page in WordPress and therefore to make changes to the template requires some coding editing skills.
Popular content for the WordPress 404.php template
Most theme authors will add a search input box to the 404.php template. It makes sense, as the resource the user requested cannot be found and therefore why not provide the user with a search to try and find the resource they are looking for.
Some theme authors like to display an image representing a 404 error, to provide a little more visual interest rather than just text.
Redirecting users to the error pages
As I touched on above, there may be times when you need to redirect traffic from one page URL to another, particularly when that page has moved, still exists and has a different URL.
Is redirecting your 404 pages recommended?
This is generally seen as a very bad idea. Many sites often redirect 404 error pages to their sites homepage but this is actually a bad idea.
Yoast, the authors of the very popular WordPress SEO plugin outlines the reasons for this in an excellent blog post.
https://yoast.com/seo-anti-patterns-301-redirect-all-your-404s-to-your-homepage/
Ultimately if a resource cannot be found on your site then it should return an error. Of course if a resource has moved this is when you should redirect.
How to Fix 404 Errors in WordPress Using 301 Redirects
If you have got pages that have permanently moved then you should redirect the old page URL to the new one using a 301 redirect.
This is a redirect that tells Google to re-index the page using the new URL as well as redirecting the user.
There are a number of ways to do this with WordPress. The first, and favoured approach is to do this at a server level. This means the redirect happens before WordPress is loaded and therefore makes things much quicker.
Most hosting providers have some sort of control panel interface for adding redirects or you can do it with a server config file such as .htaccess but that tends to get a little more complicated.
You can of course go down the WordPress plugin route for redirecting URLs, and the Safe Redirect Manager plugin from 10Up would be our preferred choice.
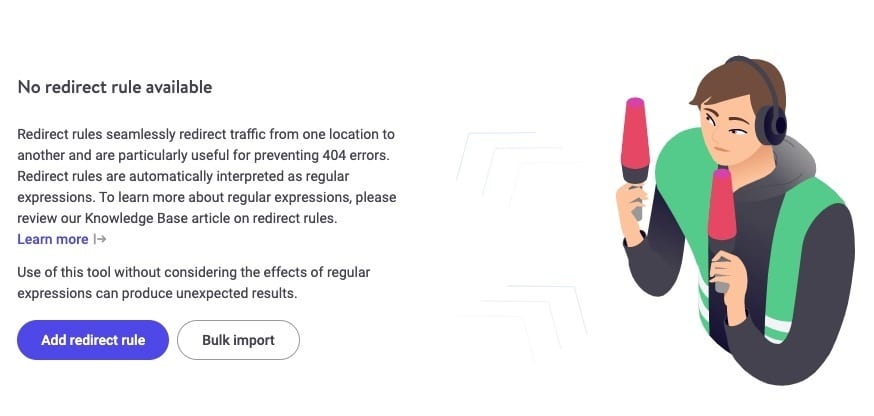
This provides a nice and easy user interface for WordPress website managers to add redirects and set whether they should be a 301 redirect (permanently moved) or a 302 redirect (moved temporarily).
Why customise your 404 page?
Theme authors have to make sure that the 404 pages in their themes are going to be suitable for everyone. As a result they often lack the customisations that can provide value specific to the audience of your website.
For this reason you may want to make some customisations to your sites 404 error page to provide users with specific information.
It is a good opportunity to promote other content on your website that you think your users will benefit from reading. It is also a good opportunity to provide your users with help to try and find what they are looking for.
This article from A List Apart has some good ideas for what to include in your 404 page template.
How to customise the WordPress 404 page
As I have mentioned it is a good idea to customise your WordPress 404 page to provide the user with as much useful information as possible.
Let’s have a look at how you can do that, depending on what you are using on your WordPress site.
How to Create a Custom 404 Page in WordPress
When WordPress decides that a user’s request is a 404 page the user is presented with the 404.php template from the active theme.
Therefore if you want to change what the user is presented with, you can edit your themes 404.php template file.
It may be beneficial to use a child theme to make changes to a template file to make sure that any theme updates don’t overwrite your changes.
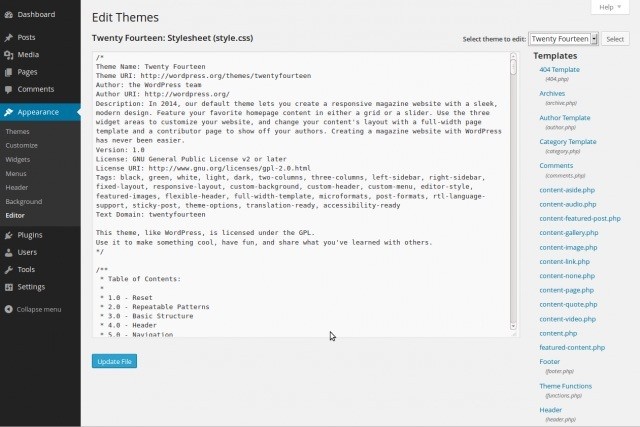
To edit the 404.php file, navigation to the Appearance section of the WordPress admin area and click on the Theme Editor link.
From the list of files on the right hand side, select the active themes 404.php file. This is then presented in the editor window where you can see the contents.
It is here that you can make any changes you want, including changes the title, and messages that are output.
See below for some examples of the things you might want to add to your 404 page.
⚠️ Be extra careful when editing files inside the WordPress admin area. Mistakes could mean you are locked out of your site, and the site shows errors.
What if my active theme doesn’t have a 404.php file included?
If your active theme doesn’t have a 404.php template, then all you need to do is to create one. To do this you will need a method of putting files onto your server such as FTP or managing this through your web hosts control panel.
Create a copy of the themes index.php file and save it in your theme as 404.php. You can then make edits to this page and they will be shown when a 404 error occurs on your site.
How to Create a Custom WordPress 404 Page With Elementor, and Astra WordPress themes
Many of the popular theme and page builders that WordPress site owners use often come with their own method for customising the sites 404 error page.
Some are easier than others and below I am going to outline the method of customising the 404 page for Divi, Astra and firstly, Elemetor.
Elementor 404 page
Follow the steps below to customise the 404 page template using Elementor.
- In the WordPress menu on the left of the admin, select Templates and then Theme Builder
- In the list of tabs on this page, select the Single tab.
- Press the Add New Single button on this page
- From the template dropdown type choose Single
- From the Select Post Type dropdown choose 404 page
- Give the template a descriptive name (e.g. Custom 404), NOT starting with “404”.Click the Create Template button.
- You will then be presented with a list of templates to choose from. Hover over the one you want to select and click insert.
From here you can now make edits to the template, for example adding your own images, inserting page elements or changing the title and text on the page.
Astra 404 page
With Astra pro you can create a custom 404 page using the custom layouts option.
- From the Astra Options page under Appearance, activate the Custom Layouts module.
- Once activated click on the Settings link.
- Click Add New to create a new custom layout.
- This takes you to a traditional post edit screen where you can customise your 404 page with whatever page builder you are using. At the bottom of this screen in the Custom Layout Settings box, choose 404 page from the dropdown list and then save your post.
Now when users hit a 404 error page they will be presented with the new page you have just created.
What to add to your custom 404 page
Your 404 page is a good place to provide valuable information for visitors. After all, they have tried to find a resource on your site but been faced with an error. Therefore rather than just telling them something went wrong, it is a good example of providing additional information.
Some ideas for what to include on your 404 page
- 404 page title – a sensible title to let the reader know that something has gone wrong.
- 404 explainer text – include a paragraph to explain that it is not their fault but URL requests could not be found. Maybe add a hint to ask them to check the URL for errors.
- Search box – as the user has not managed to land of the page they thought, a search box is a good idea to let them search for the resource on the site instead and hopefully they will find the resource or page in the results.
- Frequently asked questions – depending on the context of your site, a list of FAQs may help the user at this point.